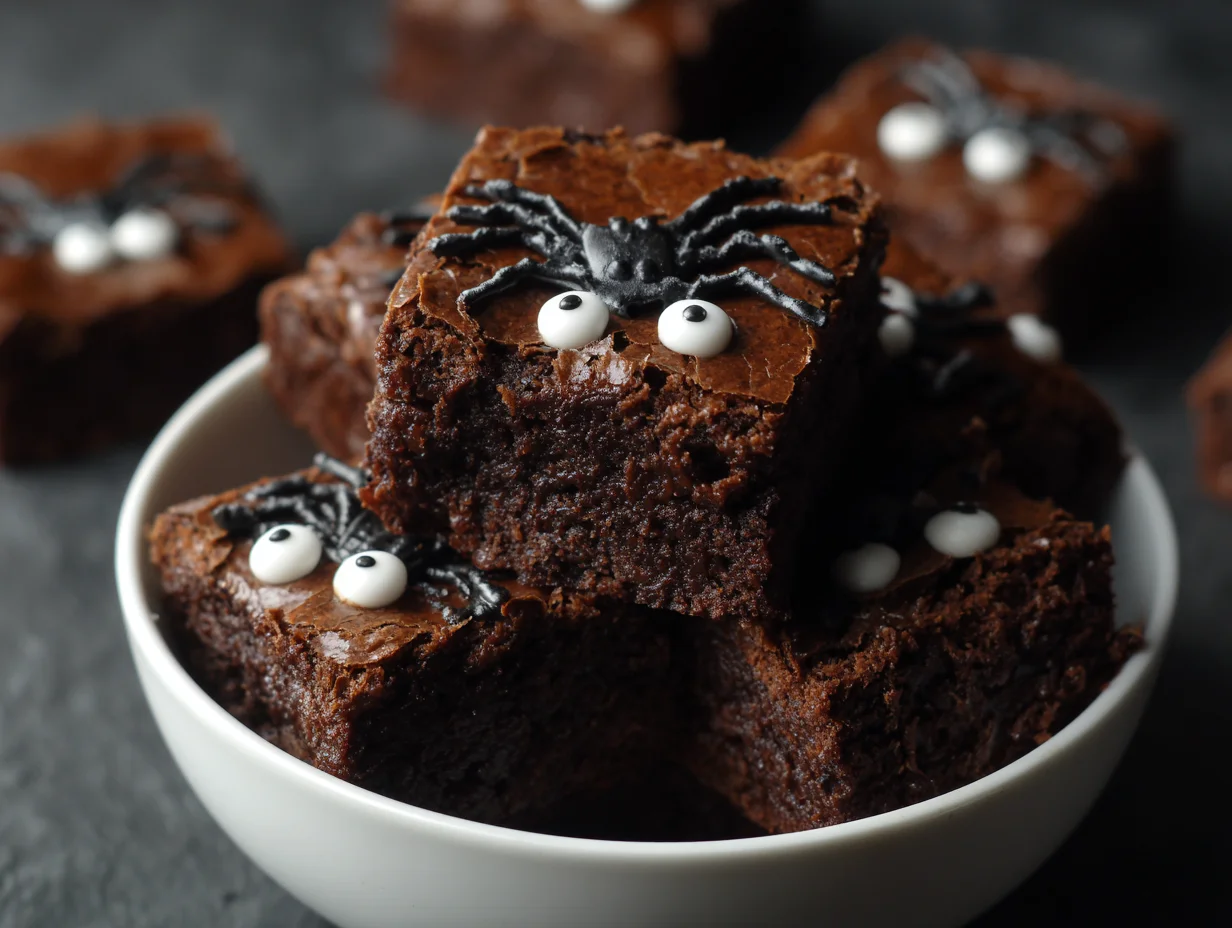
When it comes to Halloween desserts, nothing beats the combination of rich chocolate fudge and festive spooky decorations. These brownies are dense, chewy, and irresistibly fudgy, layered with playful toppings that capture the Halloween spirit. Whether you’re hosting a costume party or preparing treats for family and friends, this recipe brings together indulgence and creativity in the most delicious way possible.
Ingredients List
- 1 cup unsalted butter, melted
- 2 cups granulated sugar
- 4 large eggs
- 1 teaspoon pure vanilla extract
- 1 cup all-purpose flour
- 1 cup unsweetened cocoa powder
- ½ teaspoon salt
- 1 teaspoon espresso powder (optional, for deeper flavor)
- 1 cup semi-sweet chocolate chips
- 1 cup Halloween candy mix (candy corn, M&M’s, chopped peanut butter cups)
- Candy eyeballs, orange and black sprinkles, edible glitter (for decoration)
Step-by-Step Instructions
Step 1: Prepare the Batter
Preheat oven to 350°F (175°C). Grease and line a 9×13-inch baking pan with parchment paper. In a large bowl, whisk together melted butter and sugar until glossy. Add eggs and vanilla, whisking until smooth.
Step 2: Add the Dry Ingredients
Sift in flour, cocoa powder, salt, and espresso powder. Stir gently until just combined,do not overmix. Fold in chocolate chips for extra fudginess.
Step 3: Bake the Brownies
Spread batter evenly into the prepared pan. Bake for 28–32 minutes, or until the center is set but still slightly gooey. Remove from oven and allow to cool completely before decorating.
Step 4: Decorate with Halloween Magic
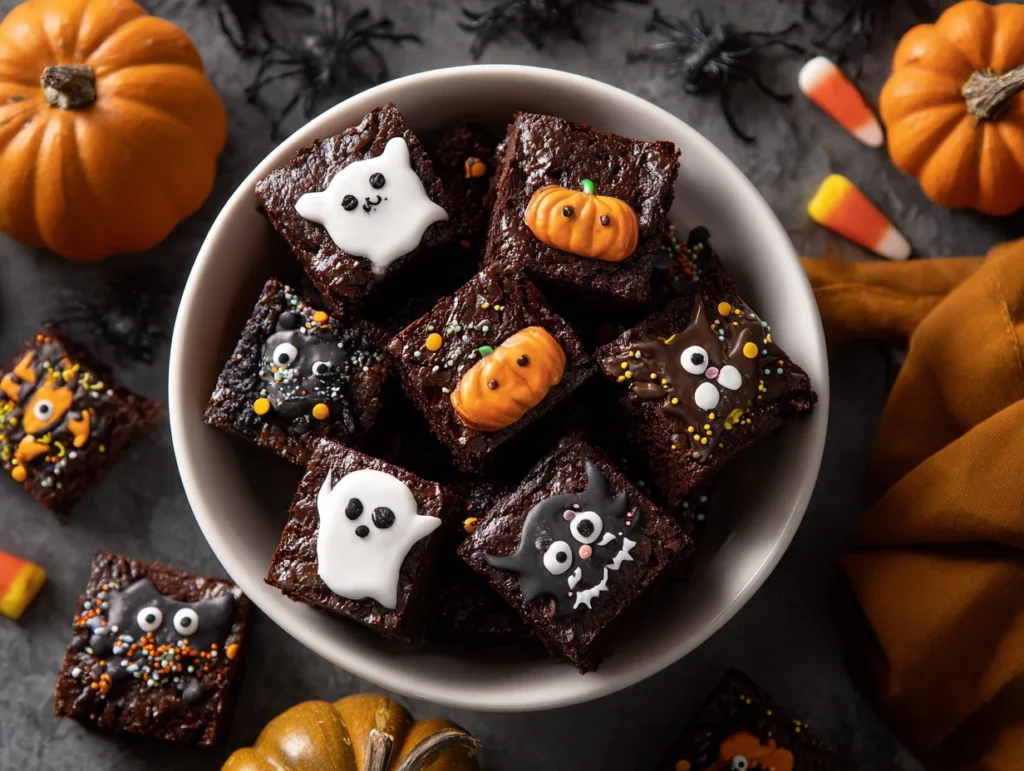
Once cooled, spread a thin layer of chocolate frosting (optional) or drizzle melted white chocolate over the brownies. Scatter candy eyeballs, Halloween candies, and festive sprinkles on top. For a spooky effect, use orange and black icing to pipe spider webs or ghostly designs.
Step 5: Slice and Serve
Cut into squares or fun shapes using Halloween cookie cutters. Serve immediately or package individually for party favors.
Cook Time
- Prep Time: 15 minutes
- Bake Time: 30 minutes
- Cooling & Decorating: 45 minutes
Servings
12–16 brownies (depending on cut size)
Nutritional Information (approx. per serving)
- Calories: 290
- Carbohydrates: 40g
- Protein: 3g
- Fat: 15g
- Sugar: 32g
- Fiber: 2g
Storage Instructions
Store brownies in an airtight container at room temperature for up to 3 days. For longer storage, refrigerate up to 1 week or freeze undecorated brownies for up to 2 months. Thaw before decorating.
Suggestions
- For an extra gooey center, slightly underbake and let brownies set while cooling.
- Use different candies,like gummy worms or crushed cookies,for a creepier look.
- Turn this into a family activity: set up a “brownie decorating bar” with candies and icing.
- Serve warm with a scoop of vanilla ice cream drizzled in orange-colored caramel.
Seasonal Relevance
Brownies are a year-round favorite, but this version is tailored for Halloween with festive colors and spooky toppings. Perfect for school parties, neighborhood gatherings, or as a highlight on your Halloween dessert table, these brownies capture the fun and indulgence of the season.
Conclusion
These Spookiest Fudgy Halloween Brownies are more than just a treat,they’re an experience. Rich, decadent chocolate meets playful decorations, creating a dessert that looks as good as it tastes. Easy to make yet impressively festive, they’re guaranteed to be the star of your Halloween spread.
The Spookiest Fudgy Halloween Brownies You’ll Ever Bake
12
servings15
minutes30
minutes290
kcalRich, fudgy brownies baked to perfection and topped with festive Halloween candies, spooky sprinkles, and edible decorations. A decadent and creative dessert perfect for parties, trick-or-treaters, and family celebrations.
Ingredients
1 cup unsalted butter, melted
2 cups granulated sugar
4 large eggs
1 teaspoon pure vanilla extract
1 cup all-purpose flour
1 cup unsweetened cocoa powder
½ teaspoon salt
1 teaspoon espresso powder (optional)
1 cup semi-sweet chocolate chips
1 cup Halloween candy mix (M&M’s, candy corn, peanut butter cups, etc.)
Candy eyeballs, orange/black sprinkles, edible glitter (for decorating)
Directions
- Preheat oven to 350°F (175°C). Grease and line a 9×13-inch baking pan.
- Whisk melted butter and sugar until glossy. Add eggs and vanilla, mixing well.
- Sift in flour, cocoa powder, salt, and espresso powder. Stir gently until combined.
- Fold in chocolate chips and spread batter evenly into the pan.
- Bake for 28–32 minutes until the center is set but slightly gooey. Cool completely.
- Decorate with candies, sprinkles, and icing for a spooky Halloween finish.
- Slice into squares or use cookie cutters for fun shapes.
Recipe Video
Notes
- Chill before slicing for neat edges.
- For cakier brownies, add ¼ cup extra flour.
- Undecorated brownies can be frozen up to 2 months.
FAQs
Can I make these brownies in advance?
Yes, you can bake the brownies a day before and decorate them the next day. This actually makes slicing easier since the brownies firm up overnight.
How do I make the brownies more cakey instead of fudgy?
Increase the flour to 1 ¼ cups and bake a few minutes longer for a lighter, more cake-like texture.
Can I use box brownie mix instead of making them from scratch?
Absolutely. While homemade gives the best flavor, a high-quality box mix works well. Just add your spooky decorations to make them Halloween-ready.