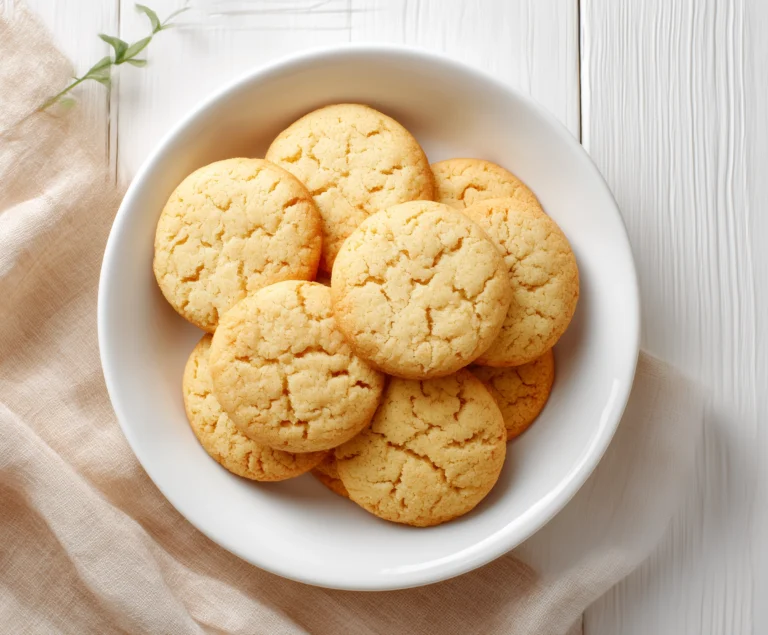
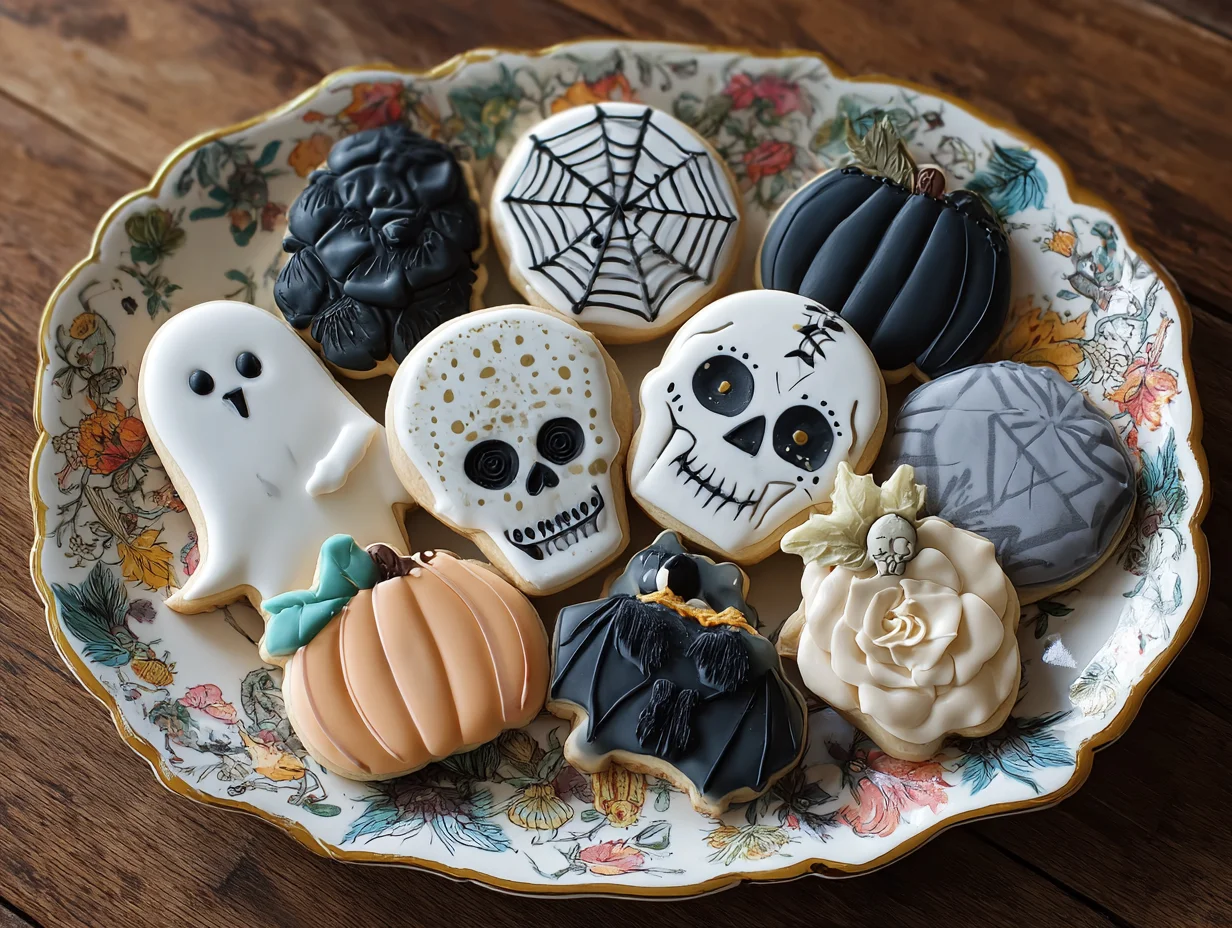
Halloween is the season of creativity, laughter, and deliciously spooky treats. These sugar cookies are the perfect canvas to showcase your festive spirit,soft, buttery, and melt-in-your-mouth with just the right amount of sweetness. Decorated with vibrant icing and playful designs, they’re not only delightful to eat but also a fun activity for the whole family. Whether you’re hosting a party or preparing treats for little trick-or-treaters, these cookies will be the highlight of your Halloween table.

Ingredients List
- 2 ¾ cups all-purpose flour
- 1 teaspoon baking powder
- ½ teaspoon salt
- 1 cup unsalted butter, softened
- 1 cup granulated sugar
- 1 large egg
- 2 teaspoons pure vanilla extract
- 2 tablespoons milk
- Assorted food coloring (orange, black, green, purple)
- Royal icing or buttercream frosting
- Sprinkles, candy eyes, and edible glitter (optional for decoration)
Step-by-Step Instructions
Step 1: Prepare the Dough
In a medium bowl, whisk together flour, baking powder, and salt. In a separate large bowl, cream butter and sugar until light and fluffy. Add egg, vanilla, and milk, mixing until smooth. Gradually incorporate the dry mixture until a soft dough forms.
Step 2: Chill the Dough
Divide the dough into two discs, wrap them in plastic wrap, and refrigerate for at least 1 hour. Chilled dough helps maintain cookie shapes during baking.
Step 3: Cut the Cookies
Preheat oven to 350°F (175°C). Roll out the dough on a lightly floured surface to about ¼-inch thickness. Use Halloween-themed cookie cutters (pumpkins, bats, ghosts, witches’ hats) to cut out shapes. Place them on parchment-lined baking sheets.
Step 4: Bake the Cookies
Bake for 8–10 minutes, or until edges are just set but not browned. Allow cookies to cool completely on a wire rack before decorating.
Step 5: Decorate with Spooky Fun
Prepare royal icing in separate bowls and tint each with desired food coloring. Pipe outlines and flood the cookies with icing, then add sprinkles, candy eyes, or glitter for extra festive charm. Allow icing to dry before serving.
Cook Time
- Prep Time: 20 minutes (plus 1 hour chilling)
- Bake Time: 10 minutes per batch
Servings
Makes about 30 cookies (depending on cutter size)
Nutritional Information (approx. per serving)
- Calories: 120
- Carbohydrates: 16g
- Protein: 1g
- Fat: 6g
- Sugar: 8g
- Fiber: 0.3g
Storage Instructions
Store cookies in an airtight container at room temperature for up to 5 days. For longer storage, freeze undecorated cookies in a sealed container for up to 2 months, then thaw and decorate fresh.
Suggestions
- For crisp edges, roll the dough thinner; for softer cookies, roll slightly thicker.
- Use edible markers to draw faces or spooky details after the icing sets.
- Turn this into a family project by setting up a “cookie decorating station” with bowls of sprinkles and candies.
- Pair with hot apple cider or pumpkin spice lattes for the ultimate seasonal treat.
Seasonal Relevance
These cookies are perfect for Halloween celebrations, kids’ parties, and festive gatherings. Their versatility makes them a creative centerpiece for dessert tables, and they double as edible party favors when wrapped in cellophane bags with a ribbon.
Conclusion
These Easy Halloween Sugar Cookies combine classic buttery goodness with festive charm. Simple to bake yet endlessly customizable, they’re a treat that brings both joy and creativity to your Halloween festivities. Whether you’re a seasoned baker or a beginner, this recipe guarantees cookies that will impress both kids and adults alike.

Easy Halloween Sugar Cookie Recipe with Fun Decorations
30
servings20
minutes10
minutes120
kcalSoft, buttery sugar cookies decorated with spooky Halloween designs. Perfect for parties, trick-or-treaters, or a fun family baking activity.
Ingredients
2 ¾ cups all-purpose flour
1 teaspoon baking powder
½ teaspoon salt
1 cup unsalted butter, softened
1 cup granulated sugar
1 large egg
2 teaspoons pure vanilla extract
2 tablespoons milk
Assorted food coloring (orange, black, green, purple)
Royal icing or buttercream frosting
Sprinkles, candy eyes, edible glitter (optional)
Directions
- In a bowl, whisk together flour, baking powder, and salt.
- In another bowl, cream butter and sugar until fluffy. Add egg, vanilla, and milk, mixing until smooth.
- Gradually add the dry ingredients to form a dough.
- Divide dough into discs, wrap, and refrigerate for 1 hour.
- Preheat oven to 350°F (175°C). Roll dough to ¼-inch thick and cut out Halloween shapes.
- Bake 8–10 minutes until edges are set. Cool completely.
- Decorate with colored icing, sprinkles, and candy eyes. Let icing set before serving.
Recipe Video
Notes
- For softer cookies, roll dough slightly thicker.
- Chill dough well to maintain shapes.
- Undecorated cookies can be frozen up to 2 months.
FAQs
Can I make the dough ahead of time?
Yes, the dough can be made up to 3 days in advance and kept refrigerated. Just let it soften slightly before rolling.
What’s the best icing for decorating these cookies?
Royal icing works best for detailed decorations, while buttercream offers a softer, creamier finish. Both hold food coloring well.
How can I prevent cookies from spreading in the oven?
Be sure to chill the dough thoroughly, and avoid over-softening the butter. Using parchment paper instead of greasing the pan also helps maintain sharp shapes.